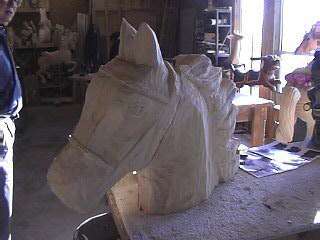
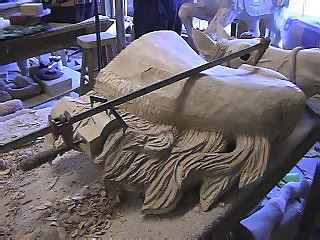
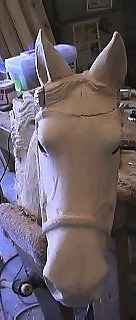
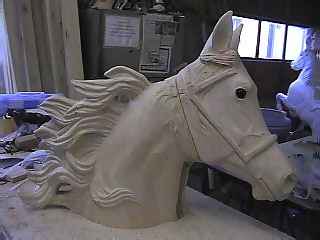
The roughed out head was waiting for me! A chain saw gets it to this point. Notice the joint along the top of the neck. I will work first on the head. The neck will come next!
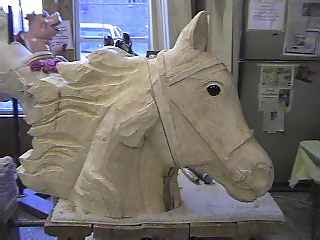
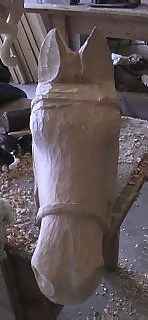
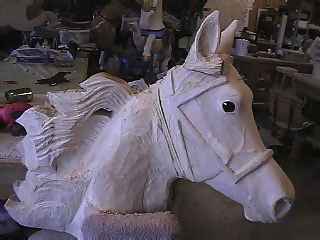
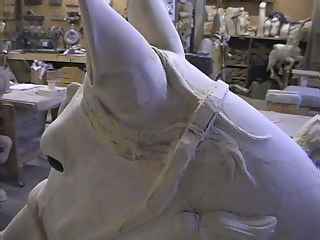
Day 12 "OFF with his ears!" They were too close and too low. The head had to be turned, so wedges were added to the neck.
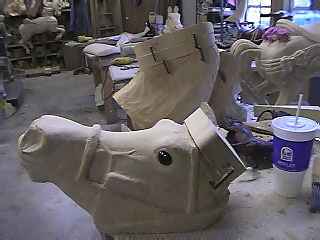
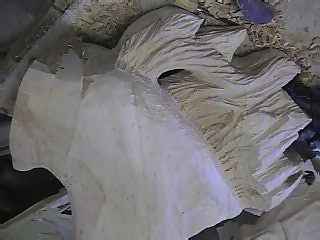
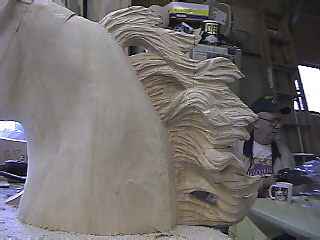
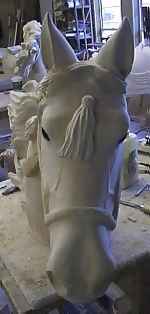
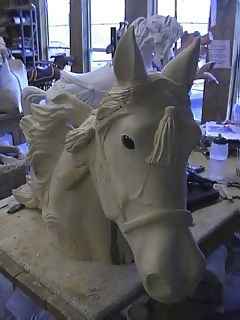
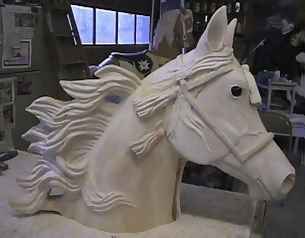
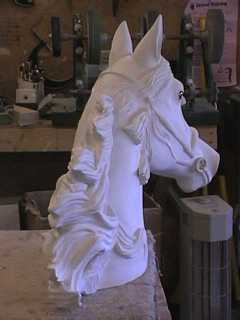
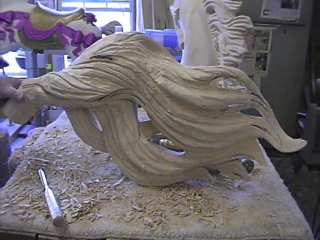
Head Study - lots of changes! Now for the mane!
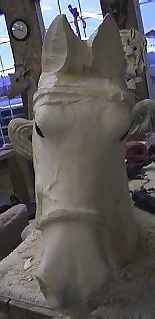
Big changes! Filling in behind the head and adding tassels. Minor changes really change the overall look. Took just a little off the front of his eyeridge, he looks so much better!
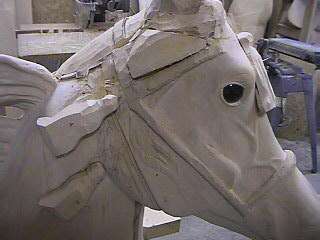
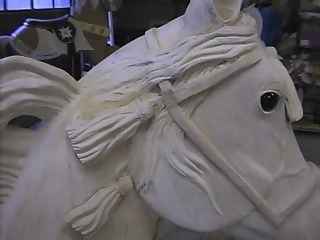
Carving in the forelock, and sculpting putty to fill in some places, and WOW!
I never realized how hard it is to "see" some things. I have taken ears for granted! How do you take out wood to make it look right? It takes a lot of time, and patience from Bud, but it is coming along!!
"No matter how well you carve, it will not get up and walk away....." Gary Beaver
"But you want to fool the viewer into thinking it might!" Bud Ellis
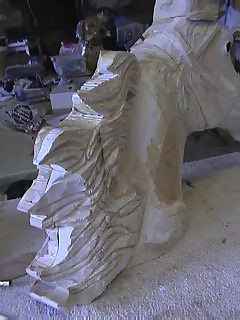
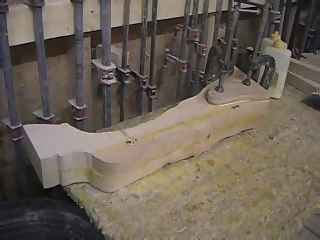
Now we move on to the legs! Trace the pattern, draw it out on the wood, cut out 2 pieces, glue them together, clamp and wait. Add addtional wood where needed for muscles. Then rough it out with a chain saw! Click on the pictures below for addtional pages on Legs and the TAIL!!
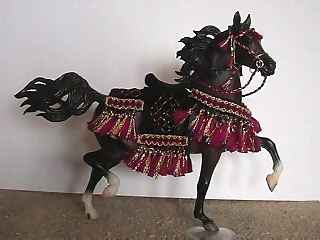
My dream - to recreate this model horse and costume in wood. This page shows the first stages of making my dream come alive!