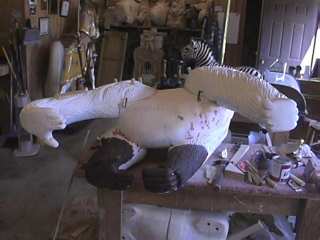
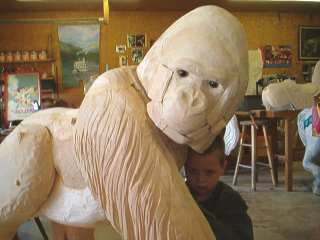
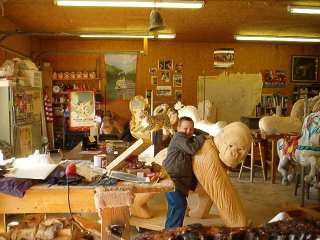
Carving a Carousel Gorilla! Many have asked for updated pictures. Unfortunately a lot of what has been done lately doesn't show up in pictures very well. Mostly sanding and recarving hair. Now however, dramatic changes are taking place!
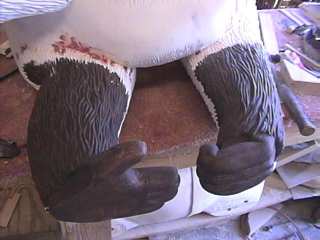
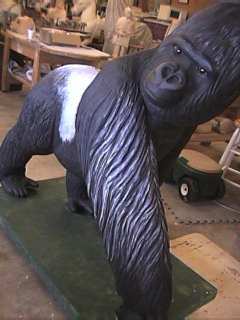
I also spent a lot of time sanding and priming the legs before we attached them. I figured it would be a lot easier to do without the body in the way. All I had to do then was wedge and putty the seams, smooth them out and start the real painting!
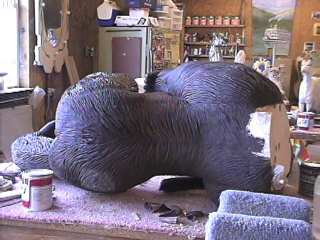
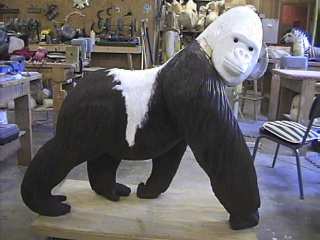
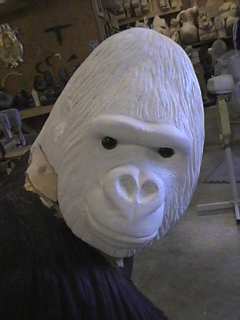
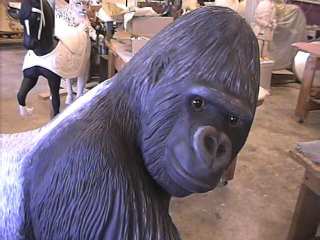
So I got a little carried away with painting before the head is even attached! No he will not be a "bald" gorilla, I am working on getting the head caught up to the body! We painted him in Burnt Umber to start with because Bud said it was easier to shade. Brown is easier to shade, but I wanted a black and silver Gorilla! So after lots of false starts with the Burnt Umber, I transformed him into a BLACK gorilla! You cannot see the difference in the pictures, but the comments from other students affirmed the choice of black was the right one. Now I am really getting excited!
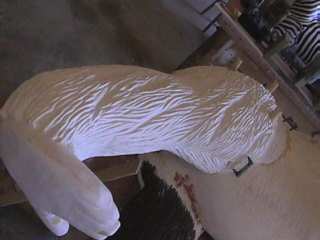
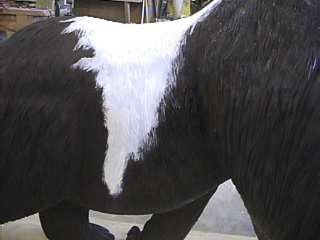
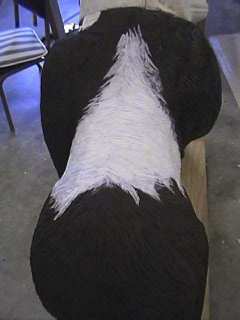
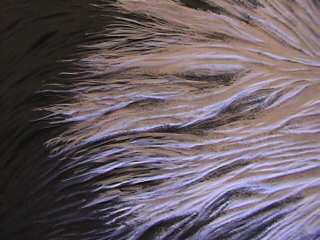
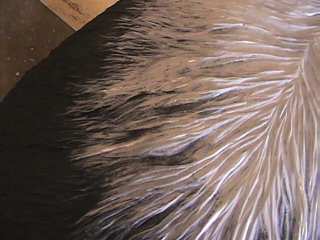
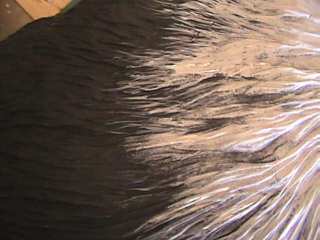
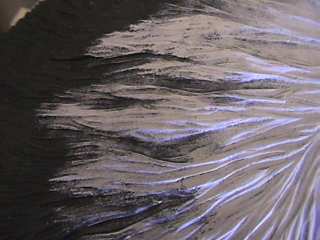
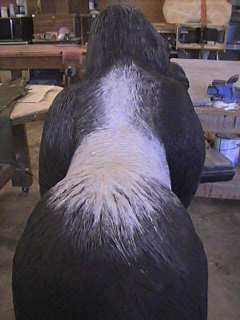
The "Silverback" Hair now has to be painted in. I started with a light "Dolphin Gray" and used a stencil brush to give a whispy effect. Bud improved upon that with very fine lines of hair. It took me awhile to get the hang of it, but I was able to improve a section myself!